This set of build plans for a double barrel wood stove is adaptable to many different uses and options.
These plans are not specific but are highly adaptable to the exact parts you choose for your build. These instruction are not definitive but provide basic know how, to help you build the best double barrel wood stove that you can.
Read below to see how a basic barrel stove door kit can be expanded upon to create a cheap but highly efficient double barrel wood stove that will last a life time, and reduce smog emissions.
- Step 1. Cut the door hole
- Step 2. Drill the door mounting holes
- Step 3. Attach the barrel legs
- Step 4. Cut the flue attachment
- Step 5. Attach the door
- Step 6. Adding firebricks
- Step 7. Install a fire grate
- Step 8. Install a wood stove catalytic combustor
- Step 9. Adding a second barrel (Double Barrel Wood Stove)
- Step 10. Turning second barrel into smoker or pizza oven.
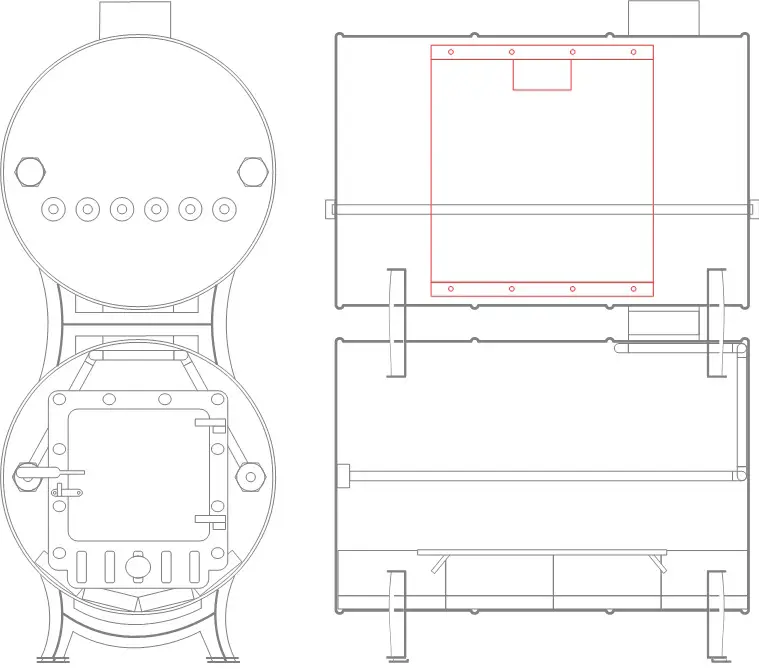
Step 1. Cut the door hole
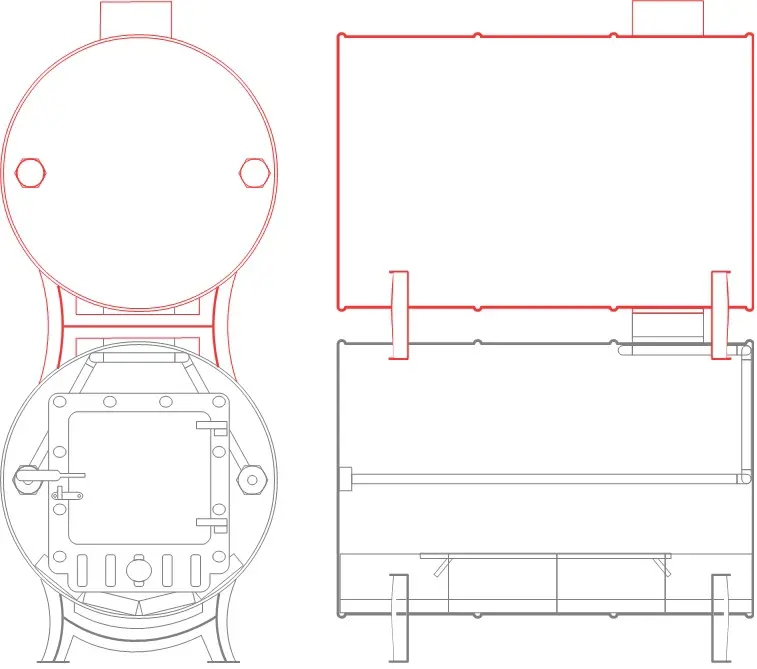
Mark the door hole in one end of the 55 gallon drum. Make sure the threaded bung holes are to the sides of the door.
Cut the door hole with your preferred method. Make sure the cuts are tight to the lines.
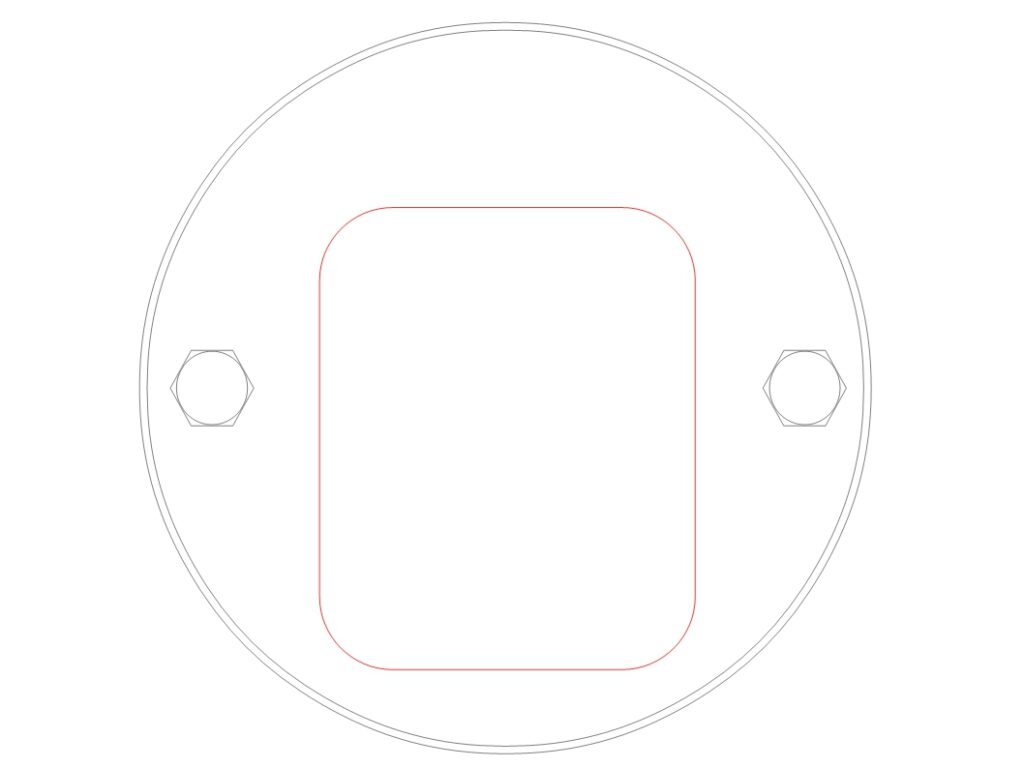
Make sure the door is in the right location with respect to the bungs
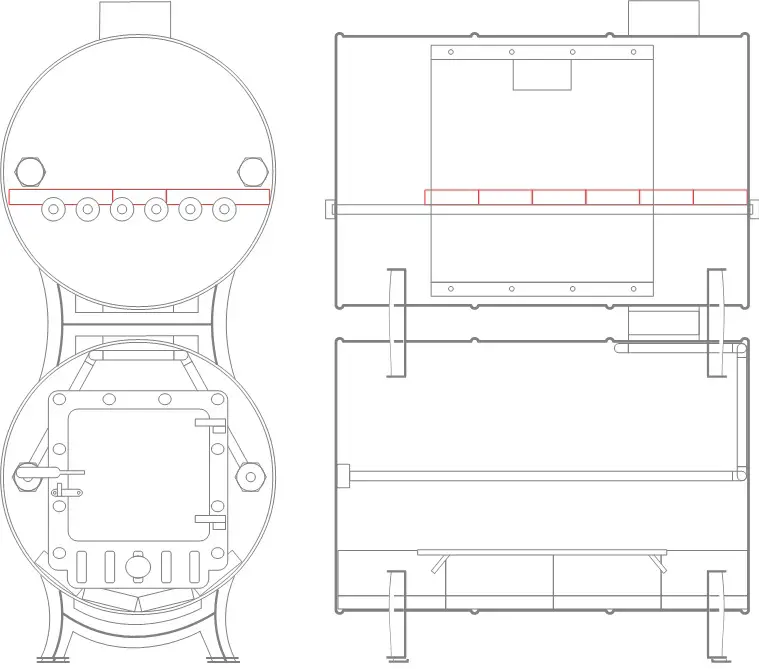
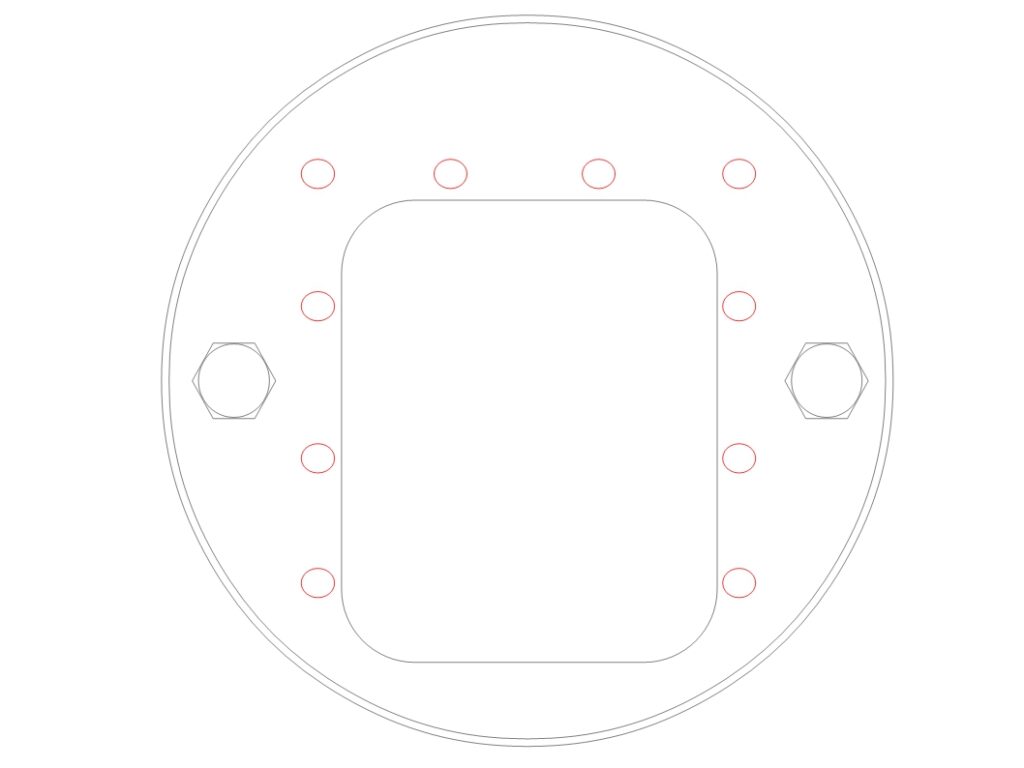
Step 2. Drill the door mounting holes
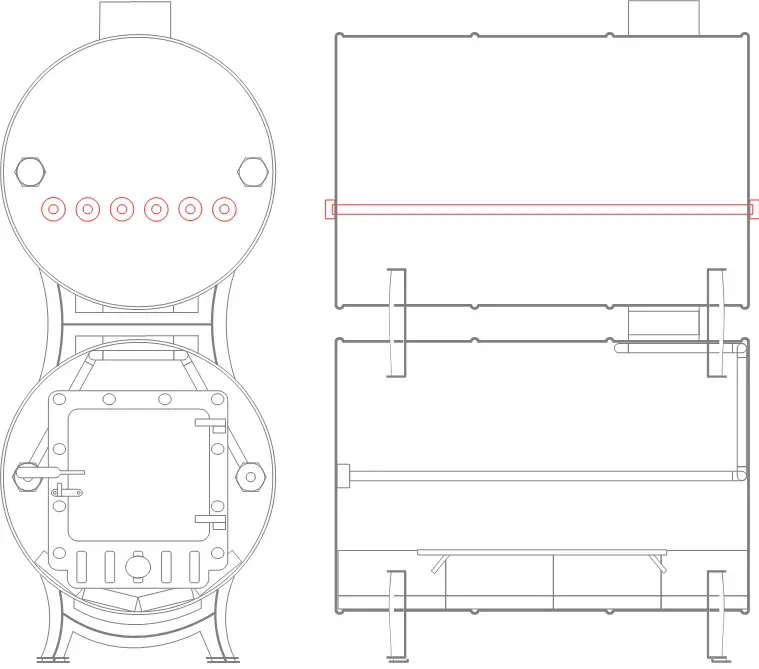
Mark the door mounting holes. You should plan to make these holes as small as possible so accurate marking is required. Don’t forget to center punch and drill pilot holes first.
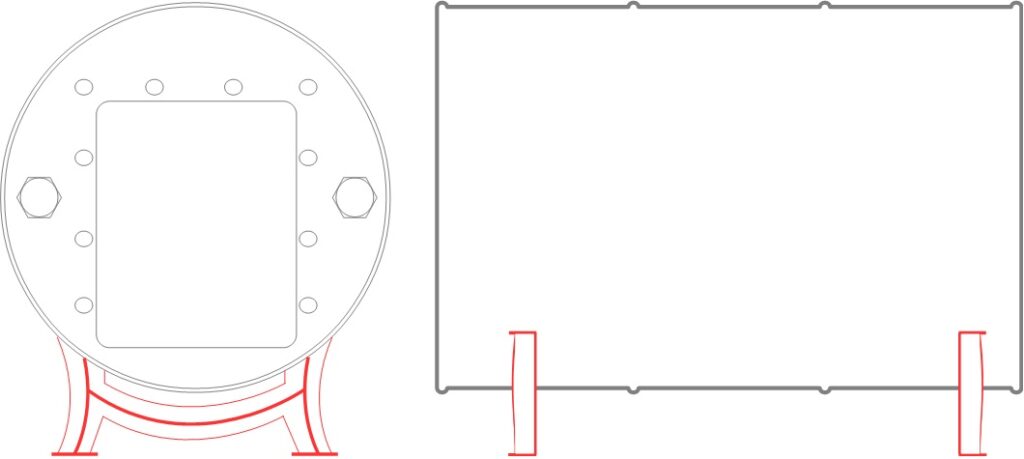
Step 3. Attach the barrel legs
Positioning the barrel legs in the right place can be tricky. You want them so the door is perfectly parallel to the ground.
To do this find a flat and level space on the floor. Temporarily sit the barrel atop the legs. You may need to prop the legs with something heavy to stop them falling over.
Place a spirit level on the bottom of the door cutout. Spin the barrel around until the spirit level is dead centre.
Mark the leg fixing holes with a sharpie. Remove the barrel from the legs, centre punch and drill leg fixing holes to size.
Bolt the legs onto the 55 gallon drum.
Step 4. Cut the flue attachment
The flue attachment should be as close as possible to the center of the top line along the drum.
To find the center line of the drum, ensure the drum is sitting on its legs on flat level ground.
Find a long piece of flat material. Mark the center point of your flat material.
Place the flat material across the top of the bar. Try to position the bar so that it so can atop the barrel without falling down on one side.
Once it is balanced atop the drum the center mark indicates the center line of the drum. Mark the point with a sharpie.
Drill and cut the flue hole in the desired location.
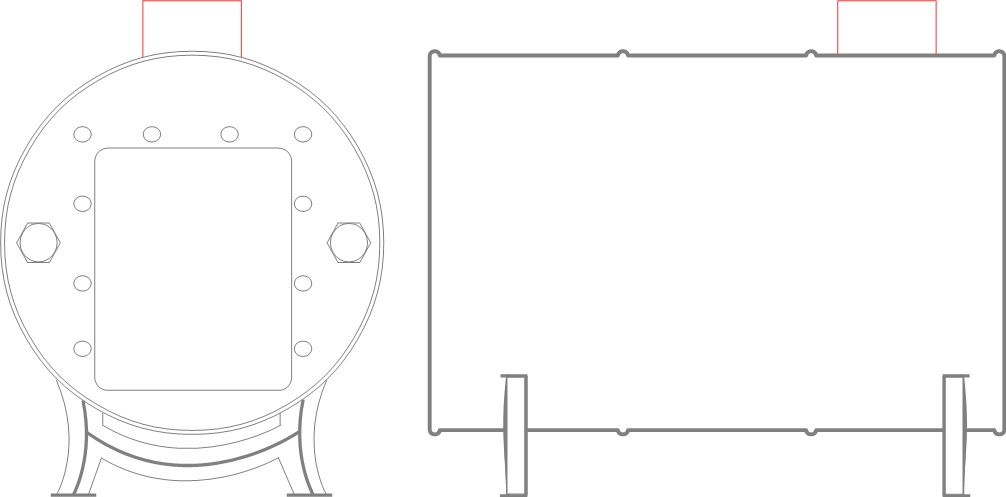
Make sure it is along the center line of the barrel.
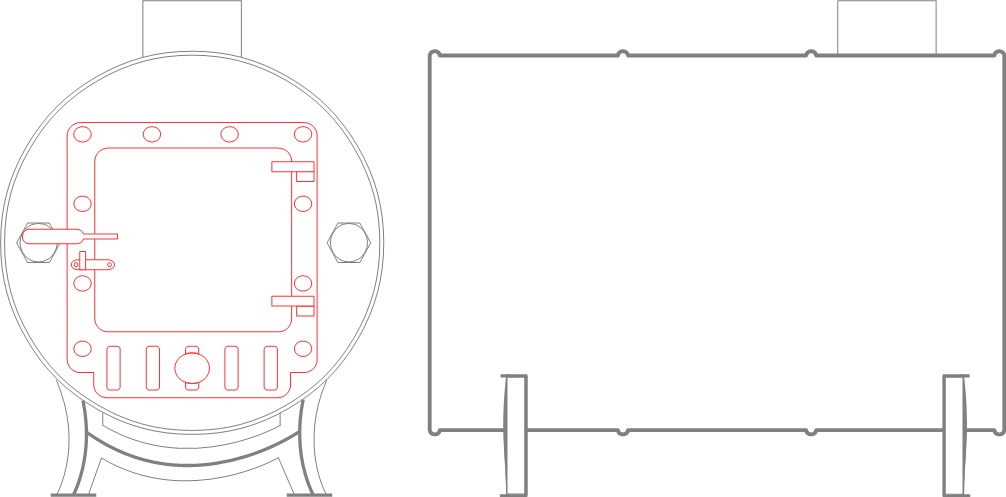
Step 5. Attach the door
Read and follow the door mounting instruction carefully. Failure to properly seal the door can result in air leaks which can be dangerous.
Once the door is mount this is the minimum viable product. You now have a barrel stove that just needs to be connected to a flue.
However we can make you barrel stove so much better by adding some, or all of the below modifications.
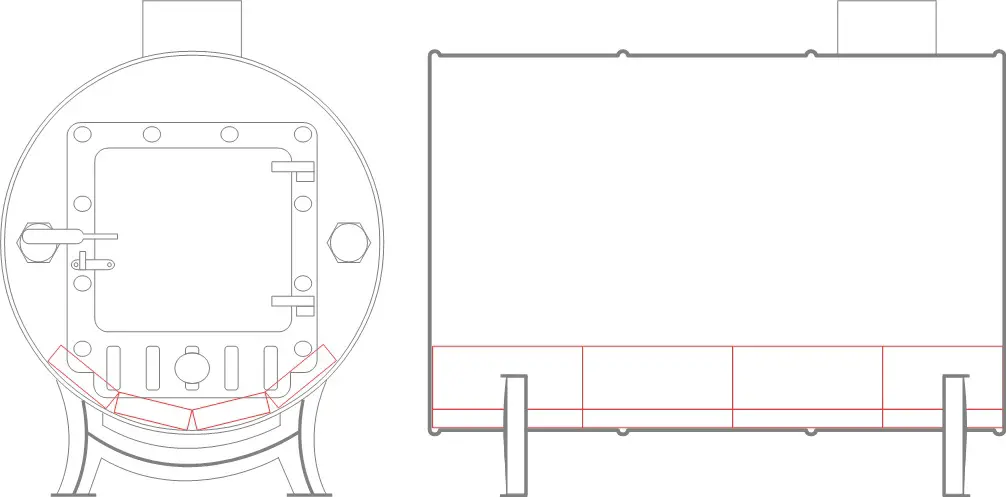
Step 6. Adding firebricks
Adding firebricks will greatly improve the life barrel stove. This step is highly recommended.
Building a fire on top of the fire bricks takes the heat away from the base of the drum, minimising excessive heat into the drum skin.
Excessive heat directly onto the drum skin can result in the holes burning through the drum.
Note, you may like to fix the fire bricks in place with refractory cement. Refractory cement will stop them fire brick moving around, and exposing the drum base of the to excessive heat.
Step 7. Install a fire grate
A fire grate will assist with maintaining a great fire by allowing ash to fall away from un-burnt logs and better airflow around the base of the flames.
Again this is highly recommended for maintaining an efficient burn.
Step 8. Install a wood stove catalytic combustor
A catalytic combustor reduces wood stove smog emissions by burning wood gasses that have not been fully burned in the fire. Adding a catalytic combustor to your barrel stove is a great way to cut emissions.
This video gives a good demonstration of a catalytic combustor
As you can see in the video, the secret to making the catalytic combustor work is to get it hot.
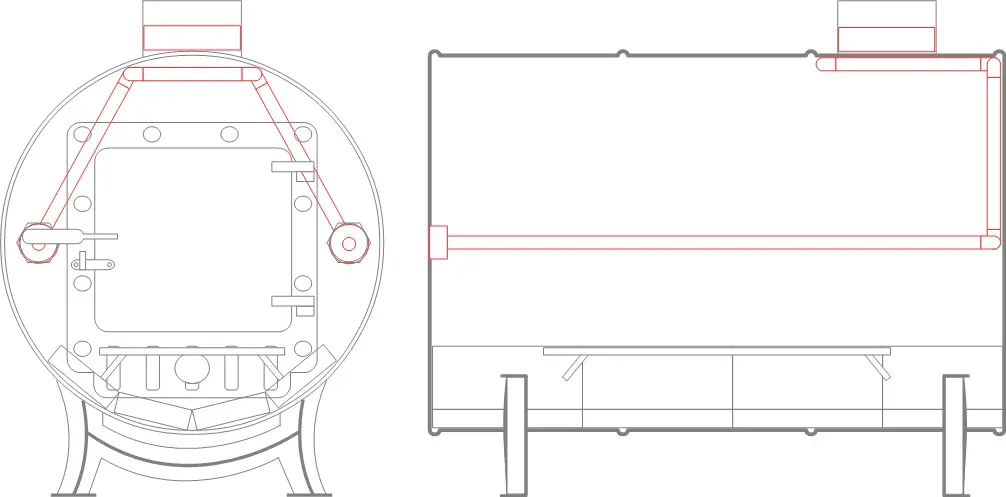
We do this be introducing pre-heated air just before the catalytic combustor.
Preheated air is drawn in by pipes running from the front bung holes. The pipe is routed to the catalytic combuster with bends and holes are drill in the pipe facing towards the catalytic combuster.
Air drawn through the pipes is pre-heated as the pipes are routed through the main fire chamber.
As the pre-heated air exits the pipe through the holes the air ignites with hot un-burnt wood gas which in turn heats up the catalytic combuster. Any further un-burnt wood gas (smoke) is this burnt as it travels through the catalytic combuster.
We recommend using NPT pipe. The NPT pipe is attached to the threaded bung holes in the drum next to the door via adaptor bushes.
Fixing the NPT pipe further along the barrel stove is achieved by self tapping or threaded screws. Just make sure any penetrations in the drum are sealed with a fireproof sealant.
Step 9. Adding a second barrel (Double Barrel Wood Stove)
A double barrel wood stove is more efficient (produces more heat) than a single barrel wood stove.
A double barrel wood stove produces more heat because the heat that would have otherwise exited out the flue is used to heat the second barrel. The second barrel has more thermal mass than a flue thereby radiating more heat.
Attaching legs and flue entry and exit is achieved by following previously described methods to find location for attachments.
An improved design is to install NPT pipes from front to rear of the second drum. These pipes are sealed off so that fresh air can be fanned through the heated pipes.
Step 10. Turning second barrel into smoker or pizza oven.
Adding a door to the and fire bricks to the second barrel offers up a cooking space.
Don’t expect a quick pizza cook time, but once warm enough a smoky flavoured pizza is possible with this design.
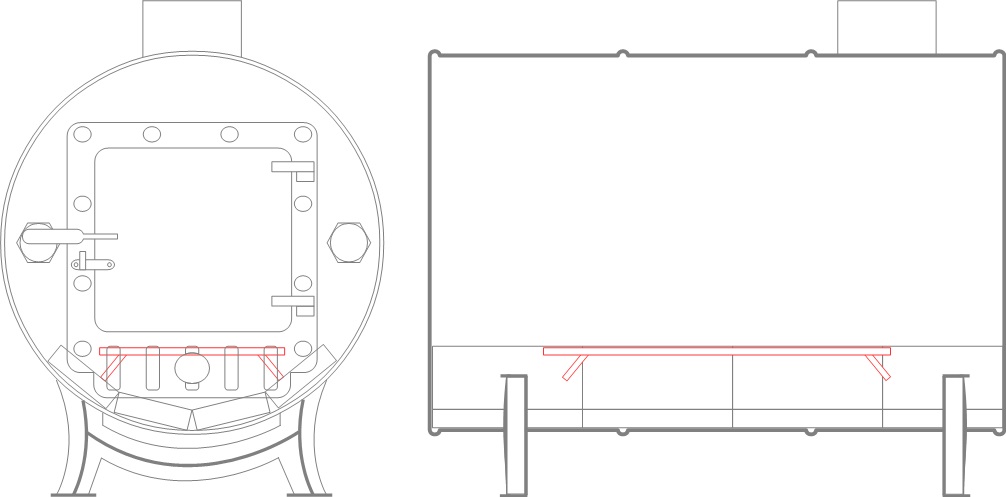
Assuming NPT pipes have been installed in a line from front to rear of the second barrel, firebricks can be placed to form a platform.
Ensure a generous amount of refractory cement is used to join the fire bricks together. The firebricks should seal off the majority of smoke pathways direct from the lower barrel to the flue.
Ensure this platform interrupts the direct path of smoke from the bottom barrel to the flue.
This allows the hot air and smoke to travel along underneath the fire bricks, heating the pipes. That smoke is the directed back over the top of the firebricks where you food is being cooked.
A door installed in the side of the barrel is there to allow access to the cooking chamber.
Note, you may want to add a cap to the air intakes on the lower barrel when operating in “smoker mode”. This will help to catalytic combustor from eliminating all the smoky flavors.