Attempting to attach ducting to a wood burning stove may not be the smartest thing to do. There are inherent fire risk dangers, and many manufacturers will specifically specify not to do this. Usually a furnace is designed to attach to ducting, always follow manufacturers guidelines.
So, if you have a wood stove, and want to duct heat to distribute the heat to more of the house quickly and safely, what can you do? The answer is to do the exact opposite, don’t think about ducting heat away from your wood burning stove, but think of the solution as bringing cold air from another room towards the wood stove.
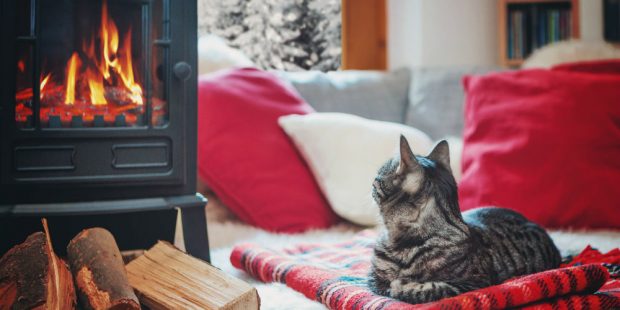
Draw cold air through ducting towards the wood stove
Drawing cold air through a duct is not only much safer it will work better. Trying to duct warm air from a wood stove to a distant room will only serve to heat up the duct, much of the heat will be lost before it gets to the other end of the duct. Ducting heat in this way is a very inefficient method.
Setting up ducting might not be the quickest job, by most handy people should be able to do this with a few basic tools and a little bit of time.
Start by installing a vent in the ceiling, attach the duct and run it through the ceiling towards the wood stove. Place a fan at the end of the duct and make sure the fan is sucking air through the duct. This may require some custom fitting to get the fan into the duct, but most hardware stores should have the parts to make this work.
By attaching a fan at the end of the duct and pointing that fan directly at the wood stove, cold air is passed across the wood stove, which releases more warm air from the stove, and aids in airflow circulating throughout the home.
For best results a fan pointing at the wood stove (as per a duct drawing air) should be setup to assist with airflow throughout the house. An additional tip is to install a heat powered fan on your wood stove blowing in a different direction. This will help setup an airflow circuit.
The second tip we have is to think of your flue as the ducting, in this way you are ducting heat, not cool air.
Install a wood stove heat exchanger in a multi-story home
A wood stove heat exchanger installed in line with the flue works when the hot air within the flue rises up the flue and increases the temperature of the heating tubes installed inside the heat exchanger. Essentially, you are using the flue to duct heat from the wood stove, it is just using the heat exchanger to take the heat out of the flue. This is heating air that otherwise would otherwise go up in smoke (pun intended).
Setting up a fan to blow air through the heat exchanger will give the best results. A fan helps in two ways, First, cool air moving over the warm heat exchanger will release heat from the heat exchanger into the air. Secondly, a fan helps to setup airflow circulation throughout a home. Circulating air is the best method for heating multiple rooms with a wood stove.
Professional Tip: If installing a heat exchanger in a room above where the wood stove is installed, you can install the heat exchanger lower to the floor. The longer the flue the cooler the end of the flue will be as the hot air rising will cool. Therefore to get more heat install the heat exchanger closer to the wood stove. The second reason to install the heat exchanger closer to the ground is that as hot air risers you want to direct the warm air to where you are. There is not point warming the top half of the room when you spend all your time in the bottom half (thanks gravity).
Professional tip: Combining a heat exchanger with ducting is a great option for multi-story homes. Setup ducting to draw in cold air and then direct that cold air through the heat exchanger may be a far more efficient (and aesthetic) option to moving air through a multi-story house.
Note, we do not advise to move warm air from a wood stove if this requires attaching ducting to the stove.